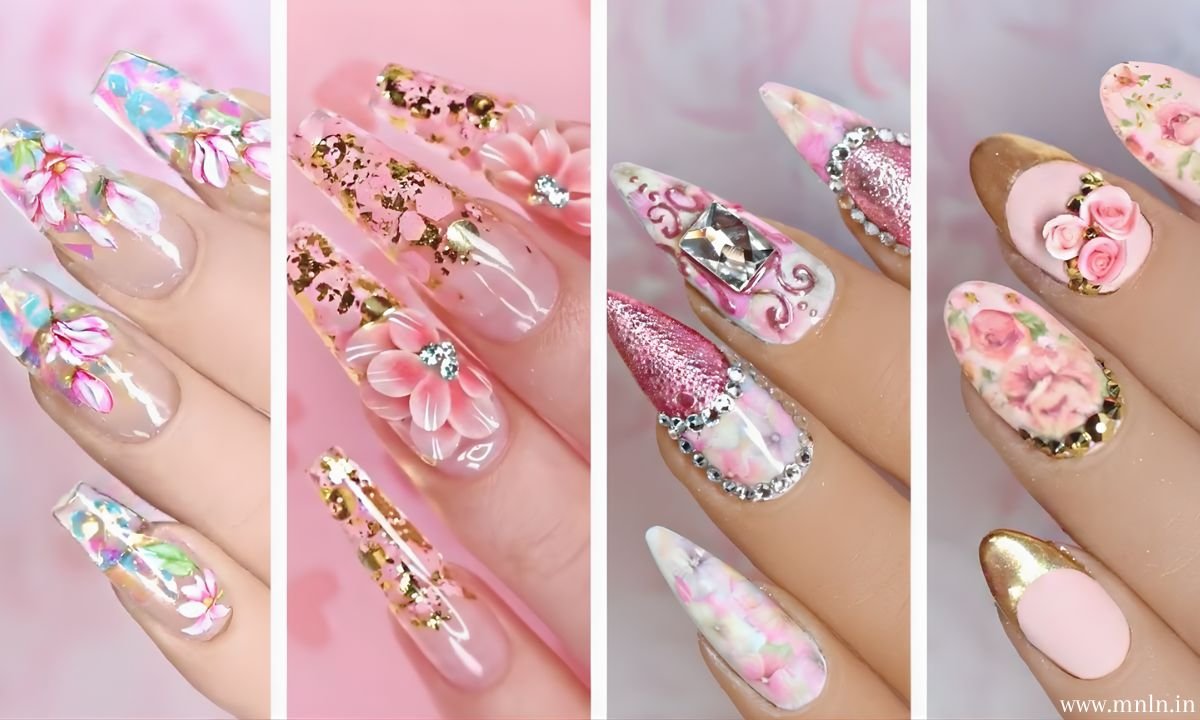
Introduction to Nail Art for Beginners
Nail art can feel intimidating at first. Tiny brushes, steady hands, fancy designs—sounds like a recipe for frustration, right? But here’s the truth: nail art is way easier than it looks. You don’t need professional skills or expensive tools to create cute, stylish nails at home. If you can paint your nails, you can do nail art. Simple as that.
Why Nail Art Is Easier Than You Think
Think of nail art like doodling. You’re not aiming for perfection; you’re aiming for creativity. Even slightly uneven lines or dots can look artistic. In fact, many trendy nail designs are intentionally imperfect. That’s good news for beginners.
Common Myths About Nail Art
One big myth is that you need years of practice. Another is that nail art takes hours. Not true. Many easy nail art designs take less than 10 minutes and still look salon-worthy. You just need the right techniques—and a little patience.
Nail Art Basics You Must Know
Before jumping into designs, let’s cover the basics. A strong foundation makes everything easier.
Essential Nail Art Tools for Beginners
You don’t need a full nail salon kit. Start with these basics:
- Nail polish (2–3 colors)
- A toothpick or bobby pin (for dots)
- Thin brush or nail art brush
- Sponge (makeup sponge works)
- Base coat and top coat
Budget-Friendly Nail Art Supplies
On a tight budget? No problem. Toothpicks replace dotting tools. Tape works as striping tape. Old makeup sponges are perfect for ombre nails. Nail art doesn’t have to be expensive to be beautiful.
Preparing Your Nails the Right Way
Clean nails are happy nails. Remove old polish, file your nails evenly, push back cuticles gently, and apply a base coat. This step helps your design stick better and prevents staining.
Simple Nail Art Techniques for First-Timers
Master these techniques, and you’ll unlock dozens of designs.
Dotting Technique
Dots are beginner-friendly and super versatile. Use a toothpick, dip it in polish, and gently tap your nail. Boom—instant art.
Striping Technique
Stripes add elegance without effort. Use a thin brush or tape to create straight or diagonal lines. Even shaky lines can look chic.
Sponge Technique
This is perfect for gradients and ombre nails. Dab two colors onto a sponge and gently press onto your nail. Blend magic happens.
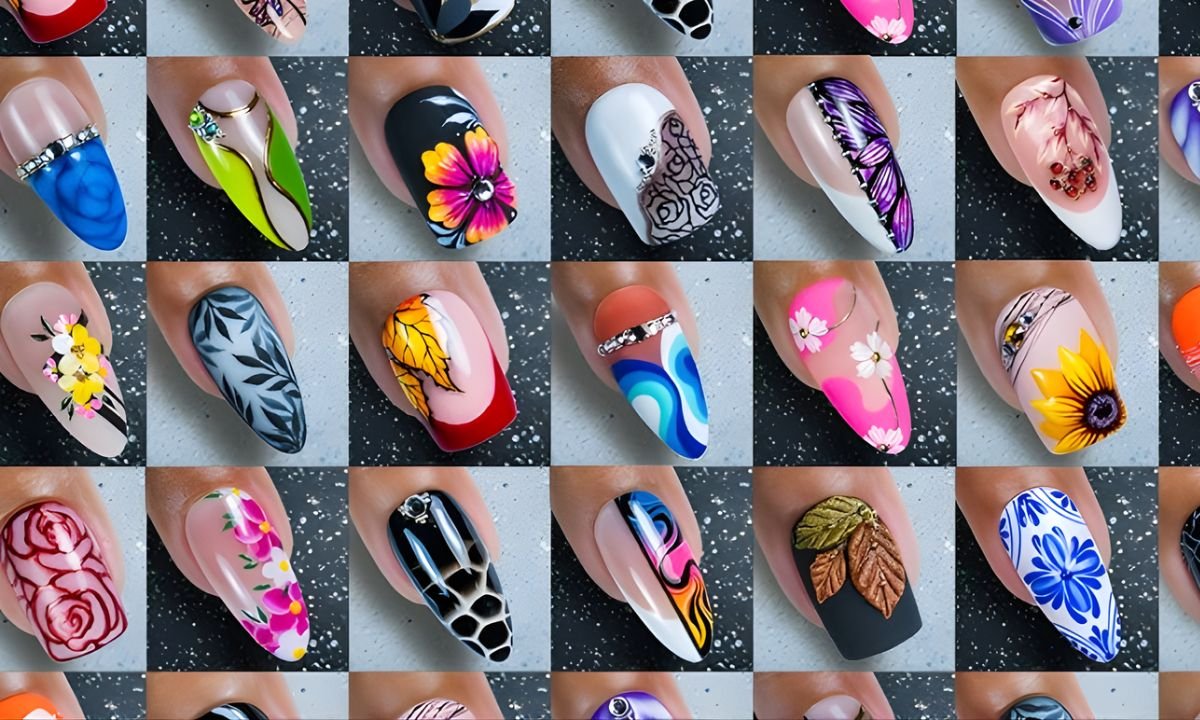
Easy Nail Art Designs Anyone Can Do
Now the fun part—designs!
Polka Dot Nail Art
Classic, cute, and foolproof. Apply a base color, let it dry, then add dots in a contrasting shade.
Minimal Dot Designs
One dot at the center or near the cuticle looks modern and stylish. Minimal effort, maximum impact.
French Tip with a Twist
Forget the boring white tips. Try pastel tips, glitter tips, or even diagonal French tips for a fresh look.
Floral Nail Art for Beginners
Flowers don’t have to be complicated.
Daisy Nail Design
Create five dots in a circle and add a dot in the center. Congratulations—you’ve made a daisy. It’s that easy.
Glitter Accent Nails
Paint all nails one color and add glitter to just one nail on each hand. This design is beginner gold—simple but glamorous.
Ombre Nails Made Simple
Choose two similar shades, sponge them together, and seal with a top coat. Slight imperfections actually enhance the gradient effect.
Heart Nail Art Design
Use two dots side by side and drag them down into a point. Perfect for cute, romantic nails.
Marble Effect Nails (Beginner Version)
Drop a few lines of polish onto a wet base and gently swirl with a toothpick. No two nails will look the same—and that’s the beauty of it.
Nail Art Color Combinations That Always Work
Choosing colors can be harder than the design itself.
Nude and White
Clean, classy, and beginner-safe. Mistakes are less noticeable with lighter shades.
Pastels for Beginners
Soft colors blend easily and forgive small errors. Think baby pinks, lilacs, and mint greens.
Bold Colors Without the Stress
Use bold colors as accents rather than full designs. A pop of red or black can elevate simple nail art instantly.
Nail Art Mistakes Beginners Should Avoid
We’ve all been there—learning includes mistakes.
Using Too Much Polish
Thick layers smudge easily and take forever to dry. Thin coats are your best friend.
Skipping Base and Top Coats
Base coats protect your nails, and top coats seal your design. Skipping them shortens the life of your nail art.
How to Make Your Nail Art Last Longer
You want your masterpiece to survive daily life.
Drying Tips
Give each layer time to dry. Quick-dry top coats are lifesavers if you’re impatient.
Sealing Your Design Properly
Apply top coat gently to avoid dragging your design. One smooth swipe does the trick.
Nail Art Practice Tips for Beginners
Practice makes progress—not perfection.
Practicing on Paper or Fake Nails
Try designs on paper or plastic nails before moving to your own. It builds confidence fast.
Building Confidence Over Time
Start simple. As your hands get steadier, challenge yourself with slightly more complex designs. Nail art is a journey, not a race.
Conclusion
Easy simple nail art designs for beginners prove that creativity doesn’t need complexity. With a few tools, basic techniques, and a little practice, anyone can create beautiful nail art at home. Think of your nails as tiny canvases—small, forgiving, and full of potential. So grab that polish, relax, and have fun. After all, nail art is self-care with a splash of color.
Frequently Asked Questions
Is nail art suitable for absolute beginners?
Yes, absolutely. Many nail art designs are created specifically for beginners and require minimal skill.
How long does beginner nail art take?
Most simple designs take 10–20 minutes, including drying time.
Do I need special tools for nail art?
No. Household items like toothpicks, tape, and sponges work perfectly.
How can I fix nail art mistakes?
Use a toothpick dipped in nail polish remover to clean small errors.
How often should beginners practice nail art?
Practicing once or twice a week is enough to see improvement quickly.